What is Version Control?
File contents can change over time. Every time we do a save operation on a file, either it’s an word file, text file or an excel file, we are effectively creating a new version. Sometimes we want to track the version history of a file. We may want to see what changed. We may want to restore an old version from history. This is where, something like a Version control system, can come in really handy. Not only it offers the history of the change but it also allows keeping different versions in multiple branches.
Version control is a feature that is generally used in software development but it can have wide spread use in our day to day computer use. In this example, we’ll use Git as our version control tool.
Git Terminology:
Repository = The collection of files under version control. It can be remote(resides on a website, network drive or other shared location) or local (resides on your local machine).
Clone = Create a copy of a repository in your local machine
Commit = Submitting a file change to the local repository. (Records changes to your local repo)
Push = Submit the local changes to the original repository. (Sends the updates from your local repo to the remote repo)
Branch = A copy of the repository that starts off with all the files from repository but over time can have other changes
Merge = Merging two branches to create a common set of changes.
What is Git?
Git is a type of version control that is free and relatively easy to start off with. There are many features in GIT that has steep learning curve but those are for advanced users in a complex scenario. For basic every day use, implementation is easy enough.
Download and Install Git
Visit the website below and download the version for the Windows OS.
https://git-scm.com/downloads
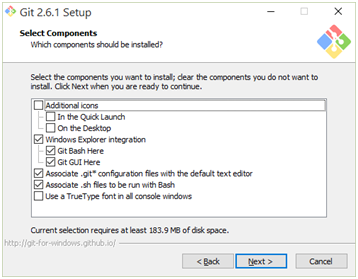
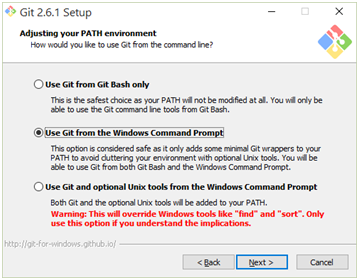
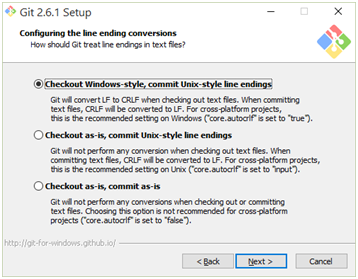
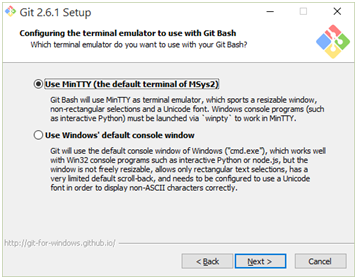
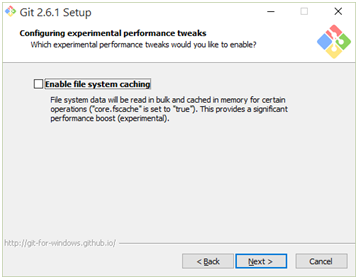
After download, install Git. I generally use the following features during the installation:
|
|
|
|
|
|
|
|
|

Install a GUI tool for Git
Visit the link below to install a GUI client for Git
https://git-scm.com/downloads/guis
In this example, I have installed “SourceTree”.
Setup Global settings
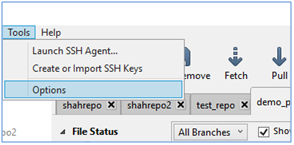
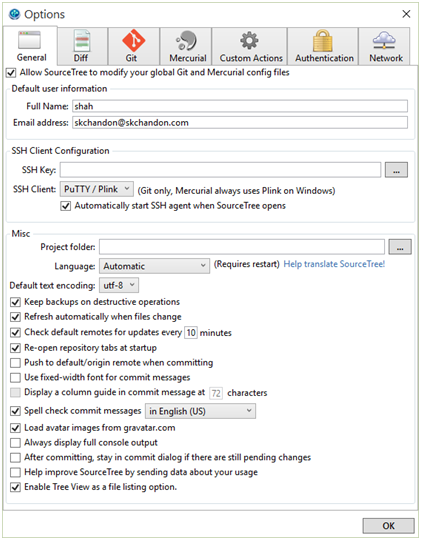
Open “SourceTree” and go to “Tools>Options” and then add “Full Name” and “Email Address”. This is needed for commits etc.
Create a Repository on a Network drive
Create a folder, named “git_repos” in the network drive(\\sharedDrive\home\). This is where you’ll create all your shared repositories.
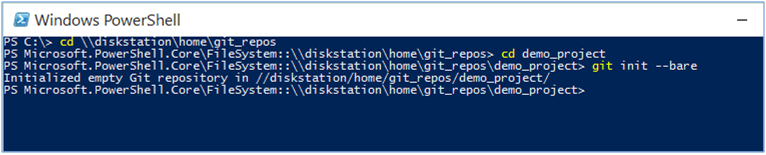
Now open a command prompt and navigate to
cd \\sharedDrive\home\git_repos
Now create another new folder called “demo_project”
cd demo_project
git init –bare
This will create a bare repository in your shared drive.
Clone a local copy
Now create a clone of the bare repository in your local laptop. Open “SourceTree” and click on “Clone/New” at the top left.

A dialog box opens up

In the “Source Path/URL:” type in the location of network shared folder:
\\sharedDrive\home\git_repos\demo_project
And for the “Destination Path:” enter a local path. In this case I’ve created a new folder in my E: drive and pointed it there.
E:\local_git_repos\demo_project
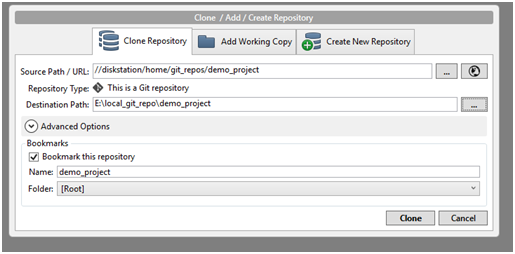
Hit Clone at the end.
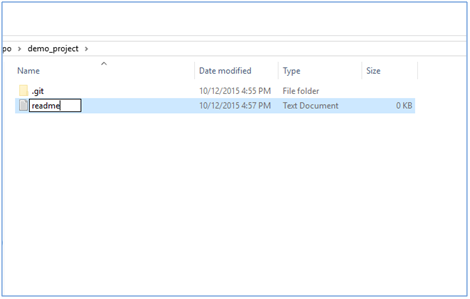
Add Content to Local
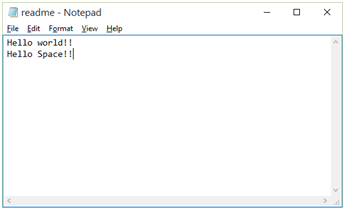
Now add a file in the local copy of the demo_project. Let’s create a readme.txt and type in some text in it. I added: “Hello world!!”
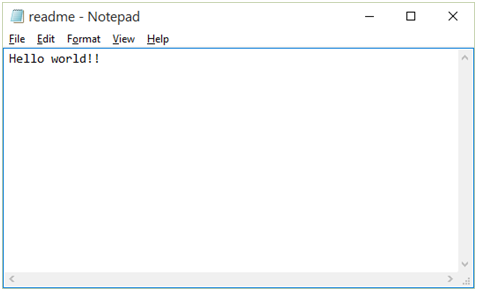
Save the file.
Add the file under version control
So far we have created a file in our local folder. We now need to add it under version control. Until it is added, it won’t be tracked by the version control system even if it resides in the local folder.
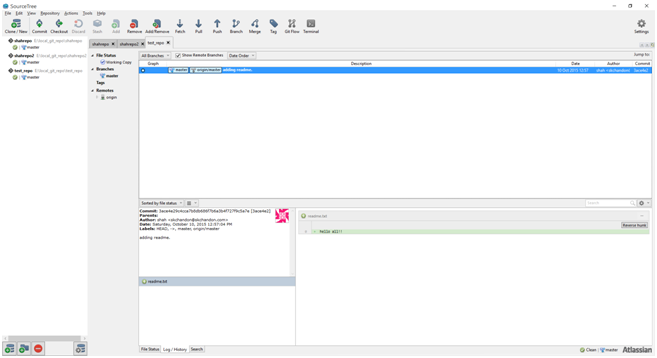
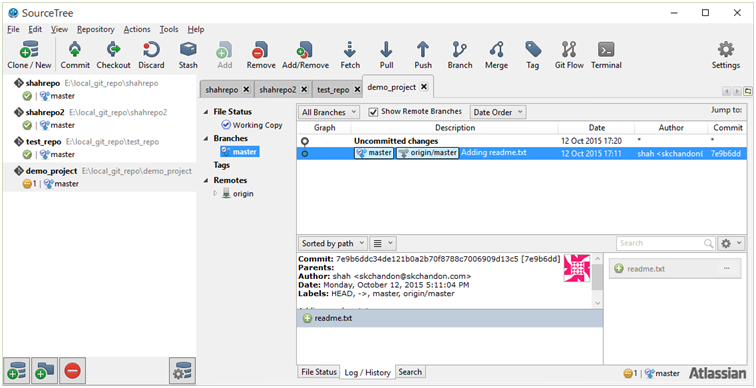
Go back to “SourceTree” and you should see a notification on the left hand side for the demo project. In the screenshot below, I have multiple repositories but look at the one at the bottom which i created few steps back.
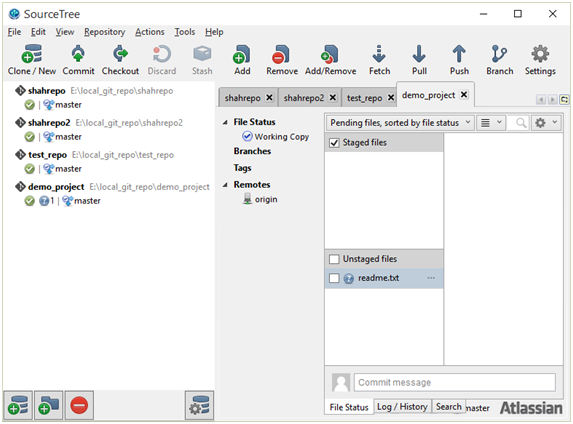
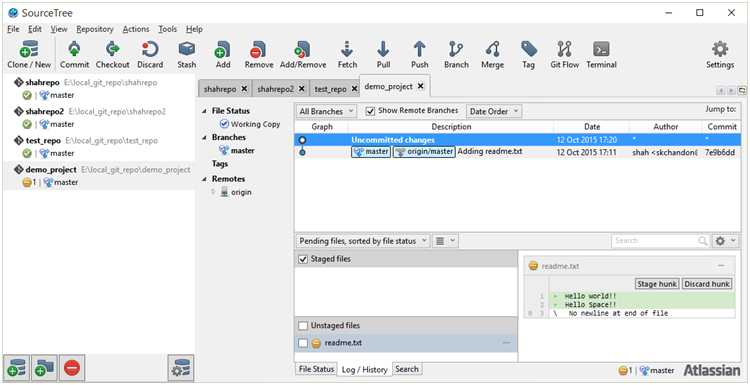
Observe on the right hand side under “Unstaged files” panel, the readme.txt is listed next to a checkbox. Click on the checkbox and it is now marked for staged.
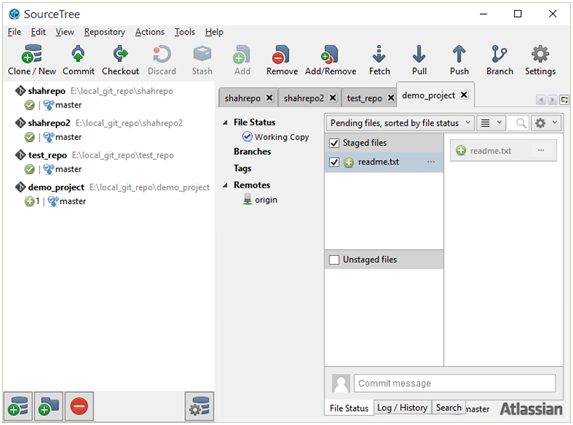
At the bottom of the right hand side screen, click on the box that says commit message. It should make the messgebox bigger and a “Commit” and “Cancel” button should show up. Type in some text as a comment and hit the “Commit” button.

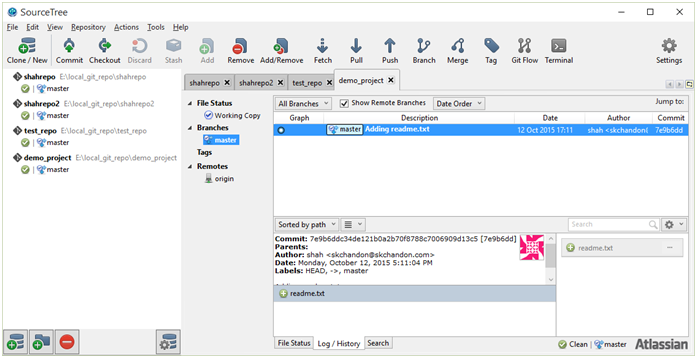
Once it is successfully committed, you’ll see a new branch is created under the “Branches” section that appears in the middle of the screen. Click on the branch labeled as “master” and you should see the history of the master branch. At this point it should show only one item as we have done only one commit.
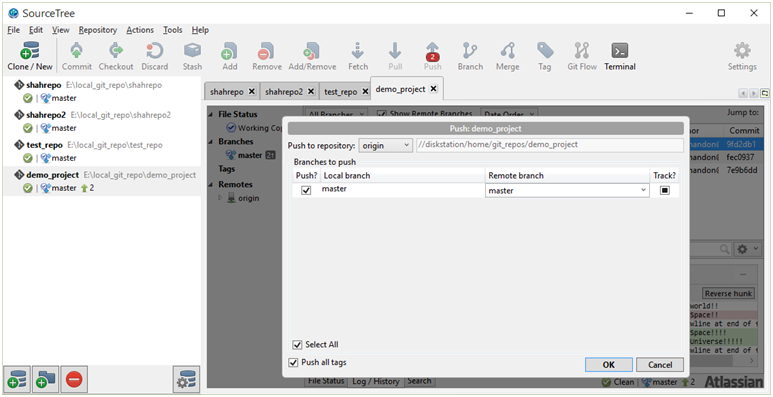
Push it to the Network Shared Location
Now we need to update the project folder in our network disk. Click on the button labeled “Push” from the top
It should show something like the following:
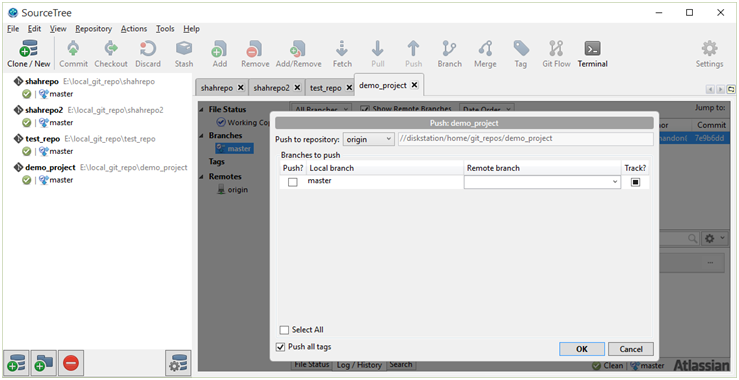
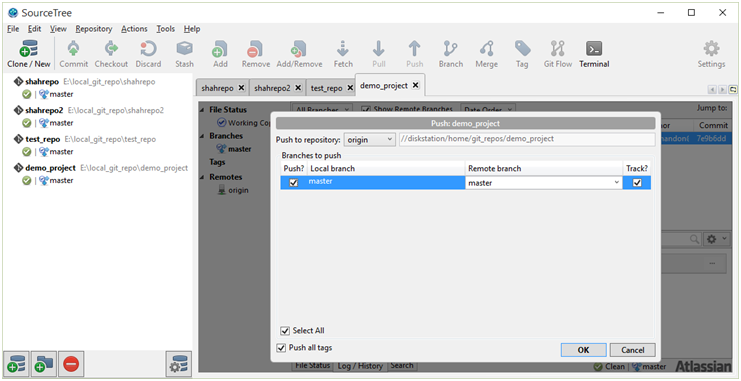
At this point our remote location (network shared folder) does not contain the master branch that was created as a result of our commit. so we need to click on the checkbox next to “master”. Once pushed it’ll create the branch on the remote location. Click OK
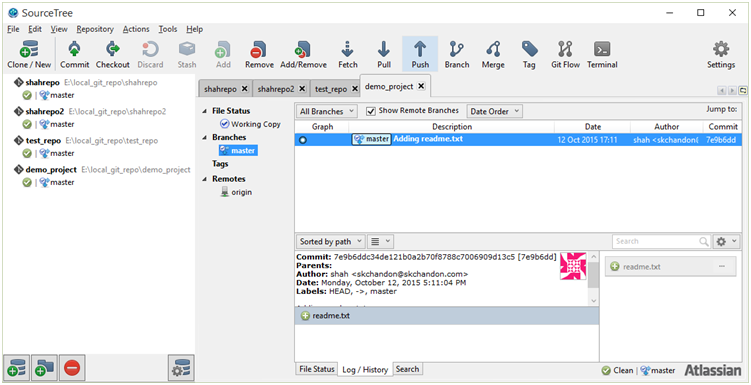
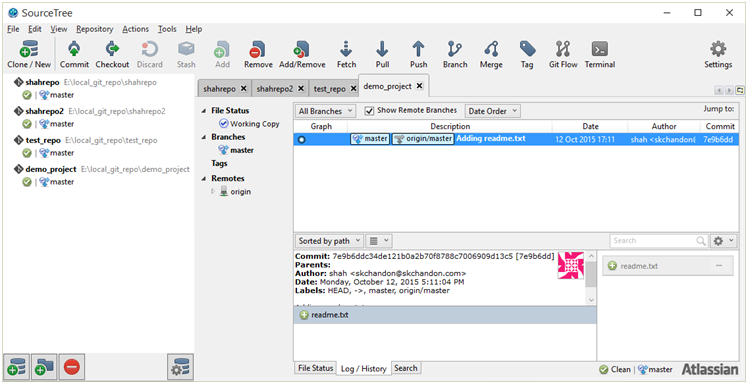
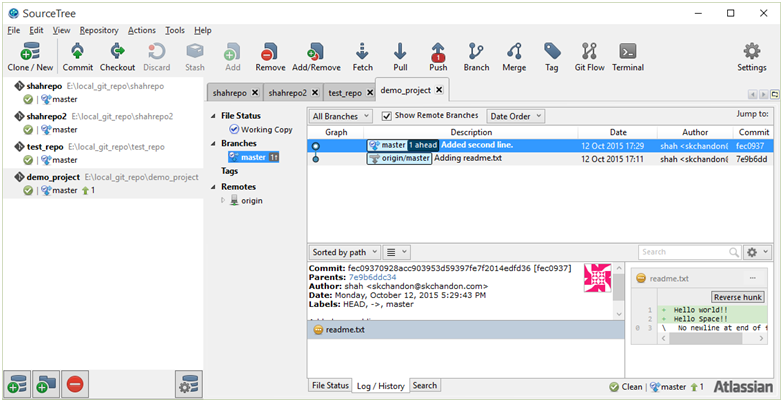
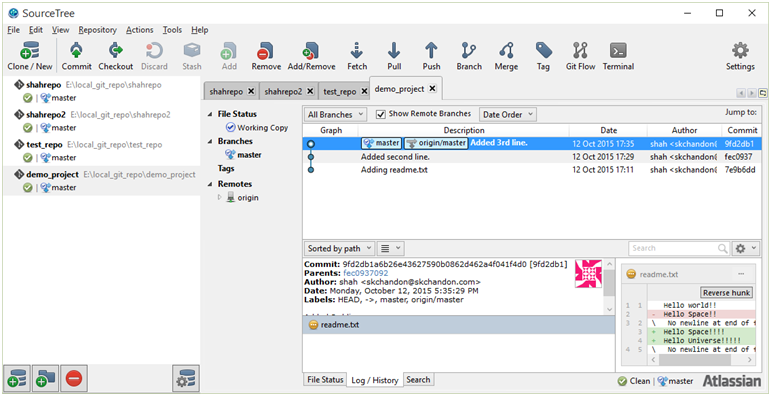
Now, we should see something like this after clicking Ok. Observe, how our history says “master” and “origin/master”. this indicates that the remote repository is up to date.
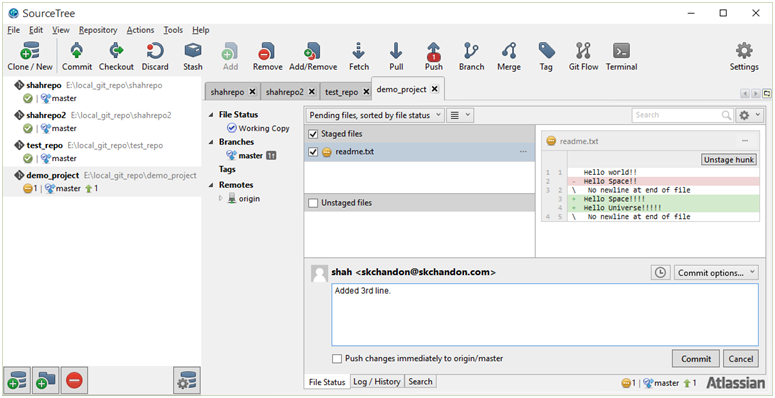
Committing More Changes to Local
Now, we are going to add more text to our readme.txt file and commit it to our local. We are going to make a few commits and then push it all at once to the remote location.
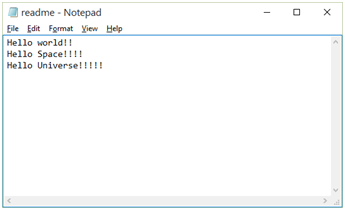
I added another line to the readme.txt and saved it.
then I went back to “SourceTree” and noticed that it is reporting uncommitted changes.
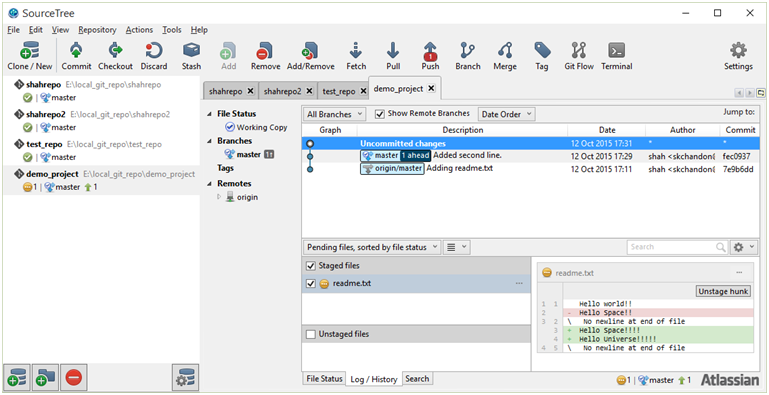
Clicking on the line “Uncommitted Changes” it shows me what changed at the bottom right corner.
At this point the file is not yet staged. So I click on the checkbox next to the file in the “Unstaged files” panel at the bottom and it gets marked for staging.

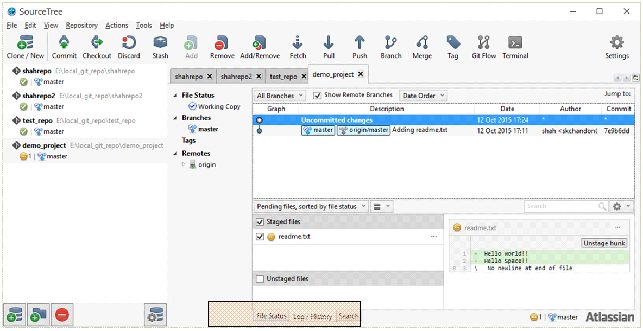
Click on the “File Status” tab at the bottom.

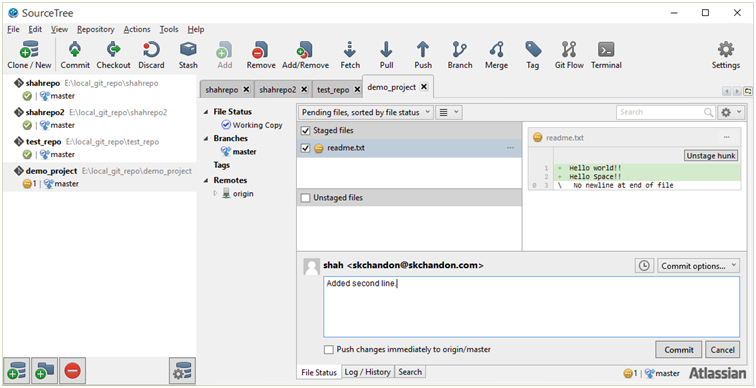
The commit box should appear. Enter another comment and hit commit.
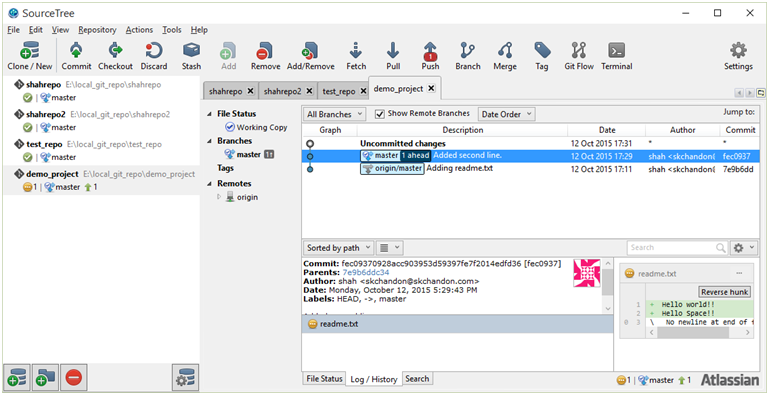
It should in the history of the master branch that it is “1 Ahead”, meaning 1 commit ahead of the remote master branch.
Add another line on the readme.txt and repeat the process above.
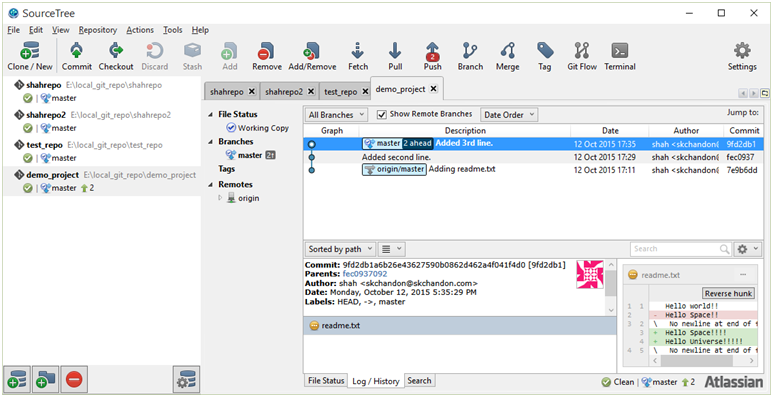
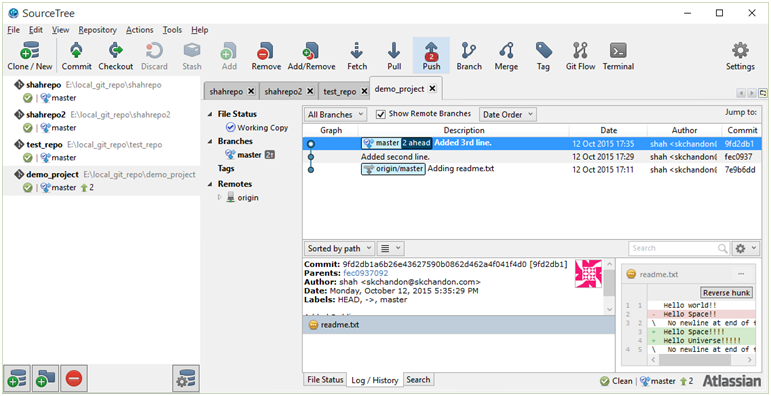
So now we have gathered up two changes in our local. Lets push it to Remote. Click on the “Push” button.
That is it. Now you are ready to explore more advanced features of Git.